Introduction to Coffee Roasting
Coffee roasting is the transformative process of applying heat to green coffee beans, turning them into the aromatic, flavorful beans that we grind and brew. Roasting not only alters the beans’ color and aroma, but it also develops the distinct flavor profiles we associate with different coffee origins and roast levels.

STEP 1: Understanding the Basics of Roasting
-
Green Coffee Beans
- These are raw, unroasted coffee beans. They’re typically stored and shipped in a stable condition before being roasted.
- Green beans have a grassy aroma and contain the natural compounds that transform into complex flavors during roasting.
-
Roasting Stages
- Drying Stage (typically up to 3–5 minutes): Green beans start to lose moisture and transition from a grassy to a more bready or toasty smell.
- Browning Stage (around 5–8 minutes): The beans begin caramelizing, turning a light brown, and developing more complex aromas.
- Development Stage (First Crack onward): The beans crack as internal pressure builds and steam is released. Flavor rapidly evolves here—roasters must carefully monitor timing to avoid under- or over-roasting.
-
Heat and Time
- The rate of heat application and duration of each stage have a direct impact on flavor. Higher heat can accelerate roasting but risks scorching, while lower heat results in a slower, more controlled roast.
STEP 2: Common Roast Levels
-
Light Roast
- Characteristics: Higher acidity, brighter flavors, often retaining fruity or floral notes.
- Color: Light brown, no visible oils on the bean surface.
- Flavor Profile: Emphasizes the origin’s inherent qualities—ideal for highlighting single-origin beans.
-
Medium Roast
- Characteristics: Balanced acidity and sweetness, with some of the origin flavor still present.
- Color: Medium brown, occasional hints of oil.
- Flavor Profile: Offers a well-rounded taste, often with caramel or chocolate undertones.
-
Dark Roast
- Characteristics: Lower acidity, bolder, smokier flavors.
- Color: Dark brown to almost black, shiny with oils.
- Flavor Profile: Dominated by roast-driven notes like chocolate, caramel, or even a slightly burnt nuance if roasted too dark.
STEP 3: Methods and Equipment
-
Home Roasting Methods
- Popcorn Popper: Budget-friendly method; only suitable for small batches.
- Home Drum Roaster: More consistent and controllable heat; can handle larger quantities.
- Stovetop Pan or Oven: Possible but requires a keen eye to avoid uneven roasting.
- Regardless of method, ensure good ventilation to manage smoke.
-
Professional Roasters
- Drum Roasters: Common in specialty coffee shops, rotating a drum over a heat source.
- Fluid Bed (Air) Roasters: Use hot air to swirl beans around, promoting an even roast.
- Professionals often track temperature, time, and roasting curves meticulously for consistency.
-
Monitoring the Roast
- Sight: Observe color changes—beans shift from green to yellow to brown and beyond.
- Sound: Listen for “First Crack” (around 385°F/196°C) and “Second Crack” (around 435°F/224°C).
- Smell: Aromas evolve from grassy to toasted bread, then to more complex caramel or chocolate-like scents.

STEP 4: Cooling and Storage
-
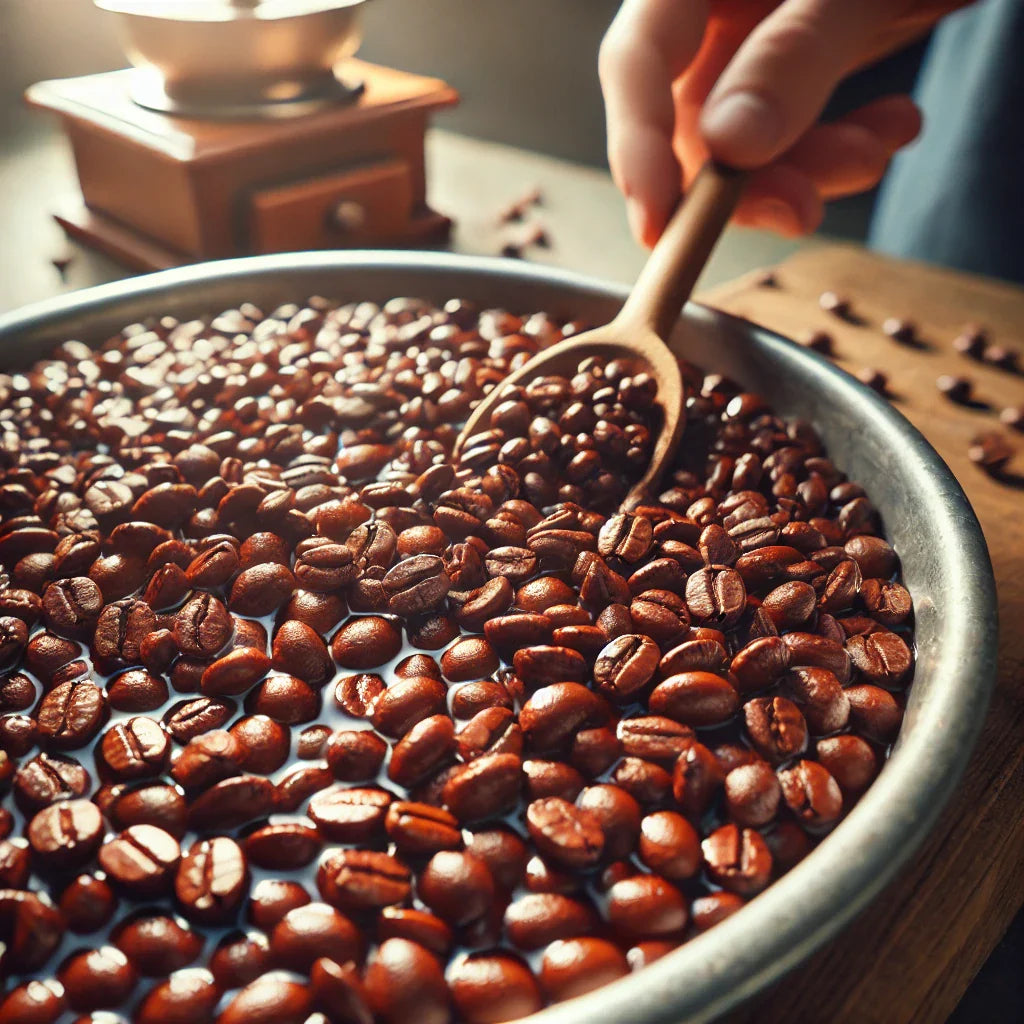
Immediate Cooling
- Once the desired roast level is reached, beans should be cooled promptly (e.g., transferring them to a metal colander and stirring).
- This stops the roasting process from carrying on due to residual heat, preventing over-roasting.
-
Degassing
- Freshly roasted coffee emits CO₂ for several days. Storing beans in a container with a one-way valve allows gas to escape while keeping oxygen out.
-
Storage
- Keep beans in an opaque, airtight container, away from heat and direct sunlight.
- For best taste, use your roasted beans within two to three weeks.